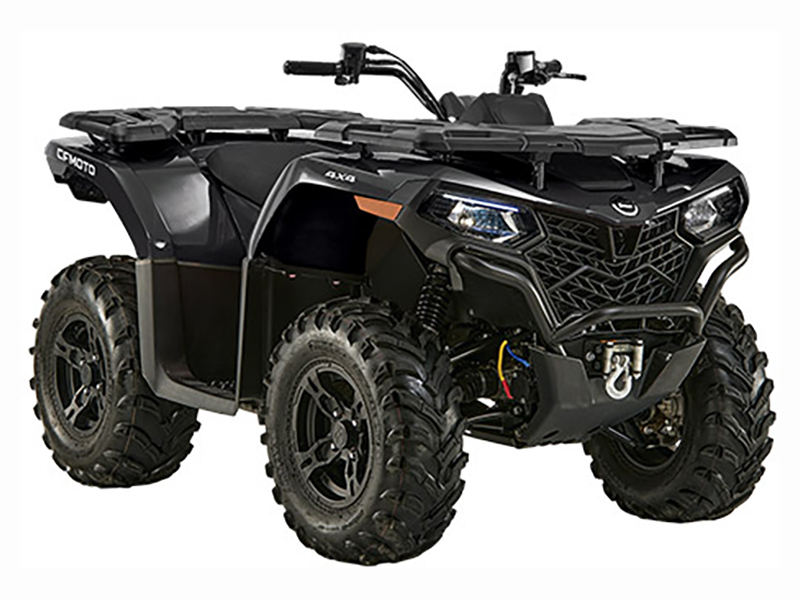
Jetting is a term that is commonly used in the world of ATVs. It is a process that is used to adjust the fuel-to-air ratio in the engine of an ATV to ensure that it runs smoothly and efficiently.
Jetting is essential, and every ATV owner needs to understand it.
Jetting involves adjusting the size of the carburetor jets to deliver the correct amount of fuel for specific riding conditions.
It consists in changing the fuel-to-air ratio to ensure optimal performance.
Proper jetting is vital for the engine’s longevity and helps prevent damage to the vehicle.
This article will discuss jetting in ATV and why it is important, including the tools and materials needed, the steps involved in the process, and some tips for troubleshooting common issues.
What Is Jetting In ATV?
Before we dive into what is jetting in an ATV? Let’s first understand what it is.
In simple terms, jetting is adjusting the carburetor’s fuel-air mixture to ensure optimal combustion.
The carburetor is responsible for mixing air and fuel in the right proportion before delivering it to the engine.
The ATV’s performance can be affected if the carburetor has too much or too little fuel.
The ideal fuel-to-air ratio is around 14.7:1. There should be one part of gasoline for every 14.7 parts of air.
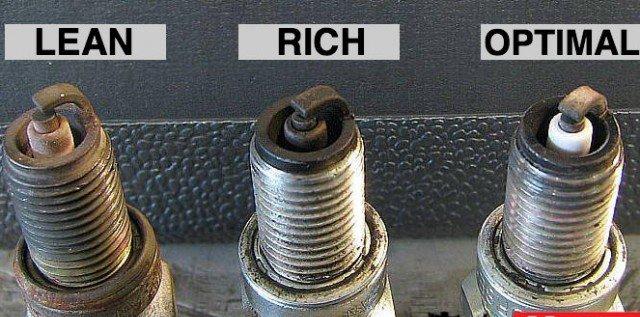
If the fuel-to-air ratio is too lean (too much air and insufficient fuel), the engine will run hot and could cause damage.
If the fuel-to-air ratio is too rich (too much fuel and not enough air), the engine will run poorly and could cause damage.
Types Of Jets In The Carburetor?
A carburetor has two types of jets: main jets and pilot jets.
Main Jets
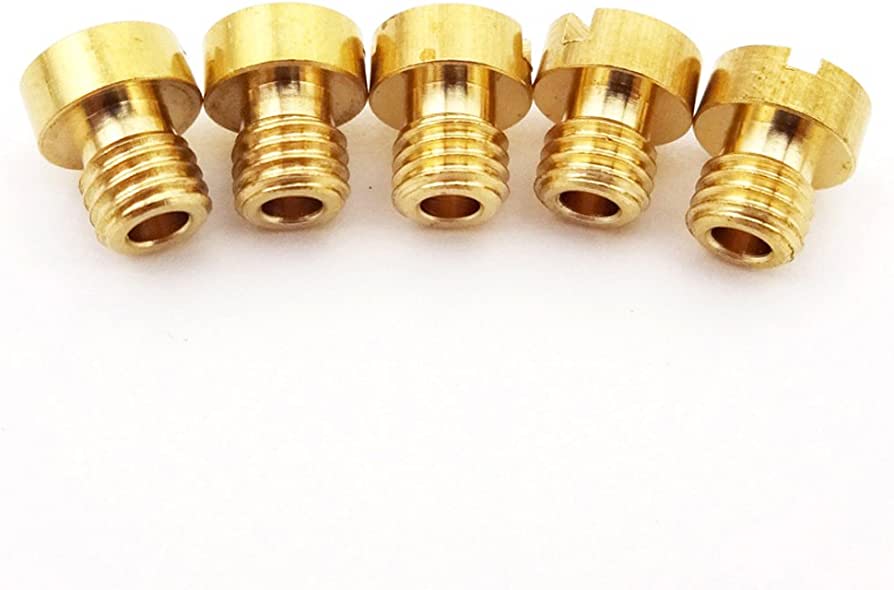
Main jets control the fuel flow at higher engine speeds, typically above 3/4 throttle.
These jets are located in the primary fuel circuit of the carburetor and are responsible for delivering the correct amount of fuel to the engine during high-speed operation.
By changing the size of the main jet, you can adjust the fuel flow to the engine and optimize performance.
Pilot Jets
Pilot jets control the fuel flow at low engine speeds, typically below 1/4 throttle.
These jets are located in the pilot circuit of the carburetor and are responsible for delivering the correct amount of fuel during low-speed operation.
By changing the size of the pilot jet, you can adjust the fuel flow to the engine and optimize performance.
Why Is Jetting Important?
Several factors can impact an ATV’s jetting, and understanding them is essential to ensure proper jetting.
Optimal Fuel-To-Air Ratio
The fuel-to-air ratio is the amount of fuel mixed with air being sucked into the engine.
The optimal fuel-to-air ratio for most machines is around 14.7:1, meaning there should be 14.7 parts of air for every amount of fuel.
If the fuel-to-air ratio is too lean, the engine runs hot, causing the piston to seize or the cylinder to warp.
On the other hand, if the fuel-to-air ratio is too rich, the engine runs poorly, causing the spark plug to foul or the carburetor to clog.
Proper jetting help to maintain the optimal fuel-to-air ratio, which is essential for the engine’s optimal performance and longevity.
Altitude And Temperature
Altitude and temperature significantly impact an engine’s performance, and proper jetting can help mitigate the effects.
At high altitudes, the air is thinner, which means less oxygen is available for combustion.
As a result, the engine runs leaner, causing a loss of power and potential engine damage.
Jetting the engine for high altitude compensates for the thinner air and ensures optimal fuel-to-air ratio.
Similarly, the engine requires more fuel during colder temperatures to run smoothly.
Proper jetting helps maintain the optimal fuel-to-air ratio under different temperature conditions, preventing engine damage.
Modifications
Modifying an ATV can affect the fuel-to-air ratio and compromise the engine’s performance.
Modifications such as adding an aftermarket exhaust or air intake can affect the airflow and fuel flow, causing the engine to run too rich or too lean.
Proper jetting help compensates for the changes and ensures the engine runs optimally.
Failure to jet the engine after modifications can result in engine damage and a loss of power.
Preventing Engine Damage
Improper jetting can cause significant engine damage, which can result in costly repairs.
If the fuel-to-air ratio is too lean, the engine runs hot, which can cause the piston to seize or the cylinder to warp.
Similarly, if the fuel-to-air ratio is too rich, the engine runs poorly, causing the spark plug to foul or the carburetor to clog.
Proper jetting ensures that the engine runs optimally, preventing damage and reducing the risk of costly repairs.
Optimizing Performance
Proper jetting optimizes an ATV’s performance and ensures that it runs smoothly.
When an engine runs optimally, it produces more power and torque, providing a better riding experience.
An engine that runs smoothly also consumes less fuel and reduces emissions, making it environmentally friendly.
Acceleration And Throttle Response
Jetting can also impact an ATV’s acceleration and throttle response.
If the fuel-air mixture is too rich, it can cause a delay in throttle response and sluggish acceleration.
The engine is not getting enough air to appropriately combust the fuel.
Conversely, if the fuel-air mixture is too lean, it can cause a sudden surge in power, leading to jerky acceleration.
Proper jetting ensures an ATV has smooth and responsive acceleration and throttle response.
Altitude
One of the most significant factors that can impact jetting is altitude.
As altitude increases, the air density decreases, which can lead to a lean fuel-air mixture.
Therefore, adjusting the carburetor is essential to ensure optimal fuel delivery.
Emissions
Jetting also has an impact on an ATV’s emissions.
If the fuel-air mixture is too rich, it can increase emissions of harmful pollutants, such as carbon monoxide and nitrogen oxide.
The environment and human health may be significantly impacted by these contaminants.
Therefore, proper jetting is necessary to ensure that an ATV emits as few pollutants as possible.
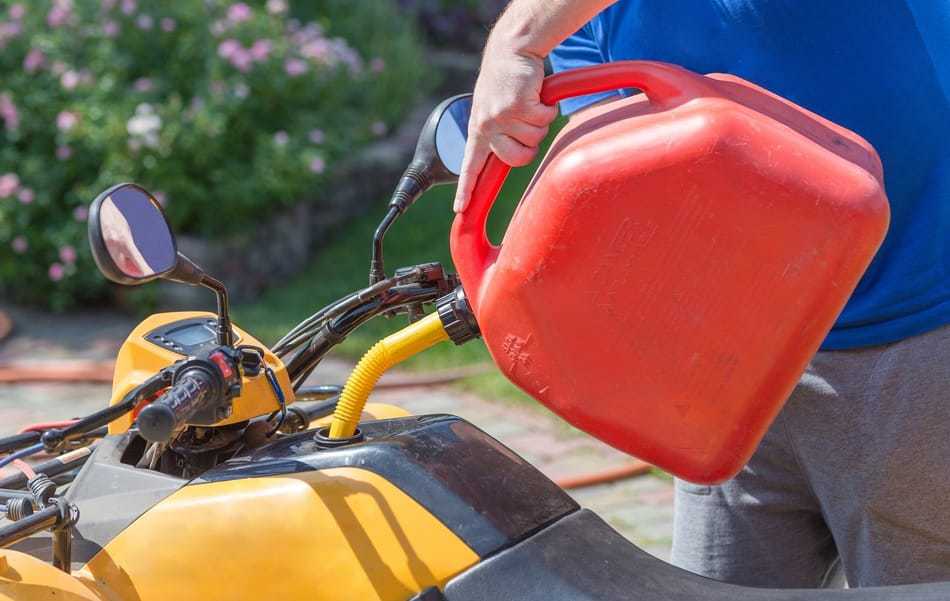
Fuel Type
Fuel type can also impact jetting. Different fuel types have other properties that can affect how they combust in the engine.
For example, ethanol-blended fuels have a lower energy content than pure gasoline, which can result in a lean fuel-air mixture.
Therefore, it’s essential to adjust the carburetor according to the fuel type being used to ensure optimal fuel delivery.
How To Jet An ATV?
Once you have gathered the necessary tools and materials, you can begin the jetting process.
Here are the steps involved:
Step 1: Remove The Carburetor
The first step in jetting an ATV is to remove the carburetor from the ATV.
It can typically be done by loosening the clamps that hold the carburetor in place and disconnecting any hoses or cables that are attached to it.
Be sure to label these hoses and cables so that you know where they need to be reattached later.
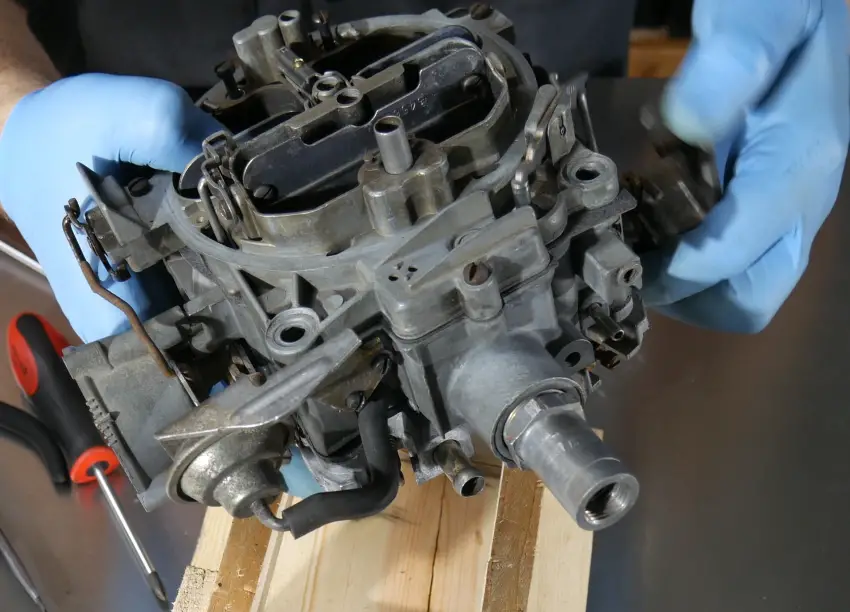
Step 2: Disassemble The Carburetor
Next, you will need to disassemble the carburetor to access the jets.
It may involve removing the float bowl, the main jet, the pilot jet, and any other necessary parts for accessing the jets.
Step 3: Install The New Jets
Once you have disassembled the carburetor, you can install the new jets.
The jet kit that you purchased should include a variety of jets in different sizes, which will allow you to fine-tune the carburetor based on altitude, temperature, and humidity.
Be sure to refer to the instructions with the jet kit to determine which jets to use based on your specific ATV and riding conditions.
Step 4: Reassemble The Carburetor
After installing the new jets, you can reassemble the carburetor.
Be sure to replace any gaskets or seals that may have been damaged during the disassembly process, and securely tighten all screws and bolts.
Step 5: Adjust The Air/Fuel Mixture
Once the carburetor is reassembled, you must adjust the air/fuel mixture screw.
This screw is typically located on the bottom of the carburetor and is used to adjust the amount of air and fuel delivered to the engine.
You will need to use the air/fuel mixture screw adjustment tool to make these adjustments, turning the screw clockwise to decrease the amount of air and fuel and counterclockwise to increase it.
Step 6: Reinstall The Carburetor
Once you have adjusted the air/fuel mixture, you can reinstall the carburetor onto the ATV.
Be sure to reconnect any hoses and cables you disconnected earlier, and securely tighten the clamps to hold the carburetor in place.
Step 7: Test Ride
With the carburetor reinstalled, you can take your ATV for a test ride to see how it performs.
Pay attention to factors such as acceleration, top speed, and fuel efficiency, and note any issues you may encounter.
Tools And Materials Needed
Before beginning the jetting process, you will need to gather the necessary tools and materials. These include:
- Jet kit – this will typically include a variety of jets to allow for fine-tuning of the carburetor
- Screwdriver set – you may need different types of screwdrivers depending on the make and model of your ATV
- Wrench set – the specific wrench sizes will depend on the ATV.
- Needle-nose pliers – these may be needed to remove or adjust small parts of the carburetor.
- The air/fuel mixture screw adjustment tool is a specialized tool used to adjust the air/fuel mixture screw on the carburetor.
- Clean rags – you will need these to wipe down the carburetor and surrounding area during the jetting process.
- Carburetor cleaner – this can be used to clean the carburetor and remove any dirt or debris affecting its performance.
Troubleshooting Common Issues
If you encounter any issues during the jetting process, there are a few common problems that you can troubleshoot.
Here are some suggestions for handling these problems:
Rich or Lean Condition:
If your ATV is running too rich (too much fuel), you may notice black smoke coming from the exhaust, a strong smell of fuel, and poor fuel economy.
If it is running too lean (not enough fuel), you may experience backfiring, engine overheating, and a loss of power.
To address these issues, you may need to adjust the main or pilot jet’s size.
Fouled Spark Plug:
If your spark plug is fouled (covered in black soot), this could be an indication that your ATV is running too rich.
To address this issue, you may need to install a smaller main jet or pilot jet or adjust the air/fuel mixture screw.
Stalling Or Hesitation:
If your ATV is stalling or hesitating, this could indicate that the air/fuel mixture is not balanced correctly.
To address this issue, you may need to adjust the air/fuel mixture screw or install a different-size jet to better match your riding conditions.
Conclusion
Jetting is an essential process in ATV maintenance that involves adjusting the fuel-to-air ratio in the engine to ensure optimal performance.
Jetting an ATV can be a complex process, but it is possible.
With the right tools, knowledge, and understanding of the factors affecting the fuel-to-air ratio, anyone can jet an ATV successfully.
By following the steps outlined above and testing the ATV after jetting, you can achieve the perfect fuel-to-air ratio and ensure that your ATV runs smoothly and efficiently.
Frequently Asked Questions
1. How Do I Know If My ATV Needs Jetting?
If you are experiencing poor engine performance, such as decreased acceleration or reduced top speed, or if your ATV is running too rich or too lean, it may need jetting.
2. How Often Should I Jet My ATV?
You should jet your ATV whenever you change riding conditions, such as altitude or temperature, or if you modify the engine or exhaust system.
3. What Happens If I Jet My ATV Incorrectly?
If you jet your ATV incorrectly, you can cause engine damage or poor performance, such as overheating, backfiring, or reduced power.
3. Is Jetting Necessary For All Types Of ATVs?
Jetting is not necessary for all types of ATVs. Still, it is recommended for those used in varying riding conditions or with modifications to the engine or exhaust system.
4. Should I Consult With A Mechanic Before Jetting My ATV?
It is recommended to consult with a mechanic or experienced rider before jetting your ATV to ensure you make the correct adjustments and avoid damaging your engine.
Also Read
- 2021 Axis 500 Noise When Coasting Downhill – Safe Your Ride In 2023
- All Know About Stock Baffle Removal Of ATV – Complete Guide
- Are 400 Hours A lot For Atv? | 5 Factors In Detailed 2023
- Are Japanese ATV Brands Better Than Chinese?
- ATV Accelerating Without Giving It Gas – Facts One Must Know In 2023!